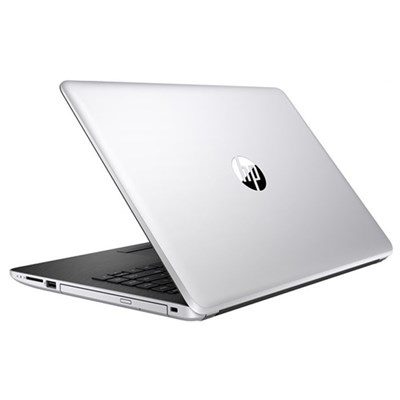
Replacing the hard disk drive (HDD) in an HP laptop involves a few steps and requires some care.
Removing and Replacing the Hard Disk Drive for HP laptop
Before you begin, make sure you have a compatible replacement HDD and the necessary tools. Here’s a general guide on how to remove and replace a hard disk drive in an HP laptop:
Tools and Materials You May Need:
We self-duplicate hard disk drives (solid drives, SSDs)
A small Phillips screwdriver
An anti-static worsted strip (optional bit recommended)
Prepare Your Workspace:
Start by turning off your laptop and disconnecting it from any power source. Also, if the laptop battery is removable, remove it. Work on a clean, well-lit surface to avoid static discharge.
Removing the hard drive
Make sure the computer is disconnected from power before starting.

Removing the hard drive
Remove the two head screws that secure the hard drive to the computer Save the screws for hard drive replacement Slide the hard disk drive back Use the black tab on the hard disk drive adapter cable to disconnect the cable from its connector.

Use the Mylar tab on the hard disk drive to lift the edge of the drive and pull the drive out of the computer.

Remove the four Phillips head screws (two on each side) that secure the hard drive to its carrier.
Lift and remove the hard drive from the carrier Disconnect the hard drive cable from the drive.
Place the hard drive in an anti-static bag.
Video Overview
I hope that you will enjoy this video. Stay tuned for more upcoming videos. Don’t forget to like & comment.
Instagram: https://www.instagram.com/easysolutio…
